
Wine enthusiasts know the importance of proper storage, but commercial wine racks can cost hundreds of dollars, making them prohibitively expensive for many homeowners. The good news is that building your own wine rack at home is not only achievable but can be incredibly rewarding and cost-effective. With basic woodworking skills, simple materials, and a weekend afternoon, you can create a functional and attractive wine storage solution for under $50.
DIY wine racks offer several advantages over store-bought alternatives. First, they allow complete customization to fit your specific space constraints and storage needs. Whether you have a small apartment kitchen or a spacious dining room, you can design a rack that maximizes your available space. Second, building your own rack gives you control over the aesthetic, ensuring it complements your existing décor perfectly.
The beauty of DIY wine rack construction lies in its accessibility. You don’t need a professional workshop or expensive tools to create an impressive storage solution. Many successful projects use reclaimed materials, making them environmentally friendly while keeping costs minimal.
Essential Materials and Tools for DIY Wine Rack Construction
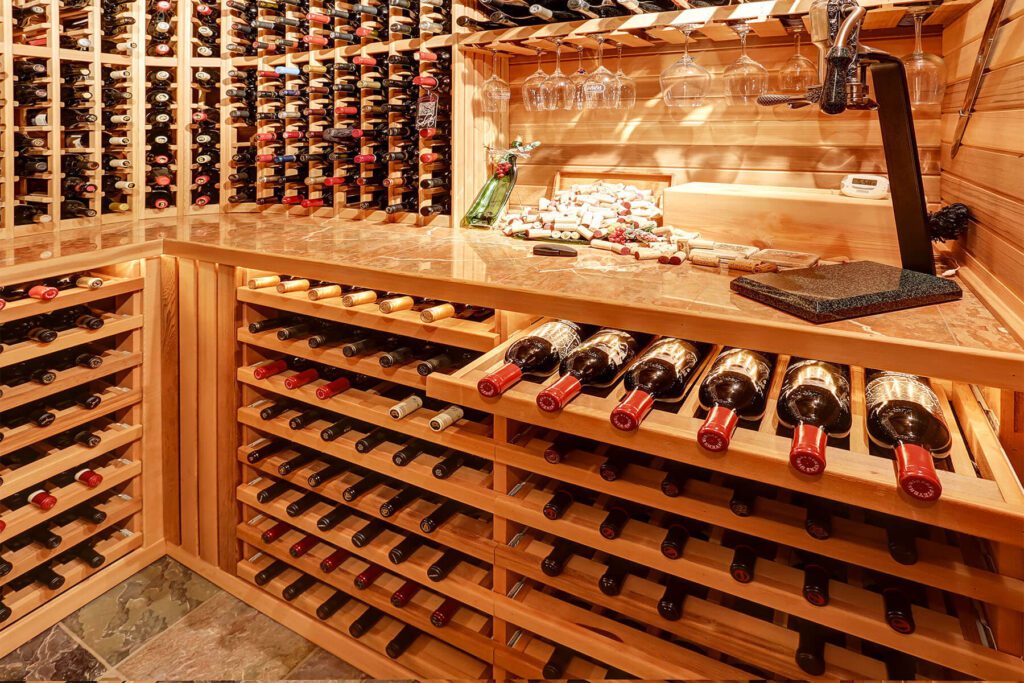
 Wine Rack at Home (Image via Getty)
Basic Materials You’ll Need
The foundation of any successful DIY wine rack project starts with selecting the right materials. Reclaimed wood planks are an excellent choice for beginners, offering character and affordability. Wooden pallets represent another budget-friendly option, often available for free from local businesses or construction sites. For those seeking a more refined look, new lumber such as pine or oak provides a clean canvas for staining or painting.
Beyond wood, you’ll need basic hardware including screws, nails, and potentially wall-mounting brackets depending on your design choice. Sandpaper in various grits (120, 220, and 320) ensures smooth surfaces and professional-looking results. Wood stain or paint allows you to customize the appearance to match your décor, while wood sealer protects your investment from moisture and wear.
Essential Tools for Success
Most DIY wine rack projects require only basic tools that many homeowners already possess. A drill with various bits handles both pilot holes and assembly, while a saw (circular, miter, or even handsaw) cuts materials to size. An orbital sander speeds up surface preparation, though hand sanding works for smaller projects. A jigsaw proves invaluable for creating curved cuts and wine glass notches.
Measuring tools, including a tape measure, square, and level, ensure accuracy and professional results. Clamps hold pieces in place during assembly, while a hammer handles any nailing requirements. Safety equipment, such as glasses and a dust mask, protects you during construction.
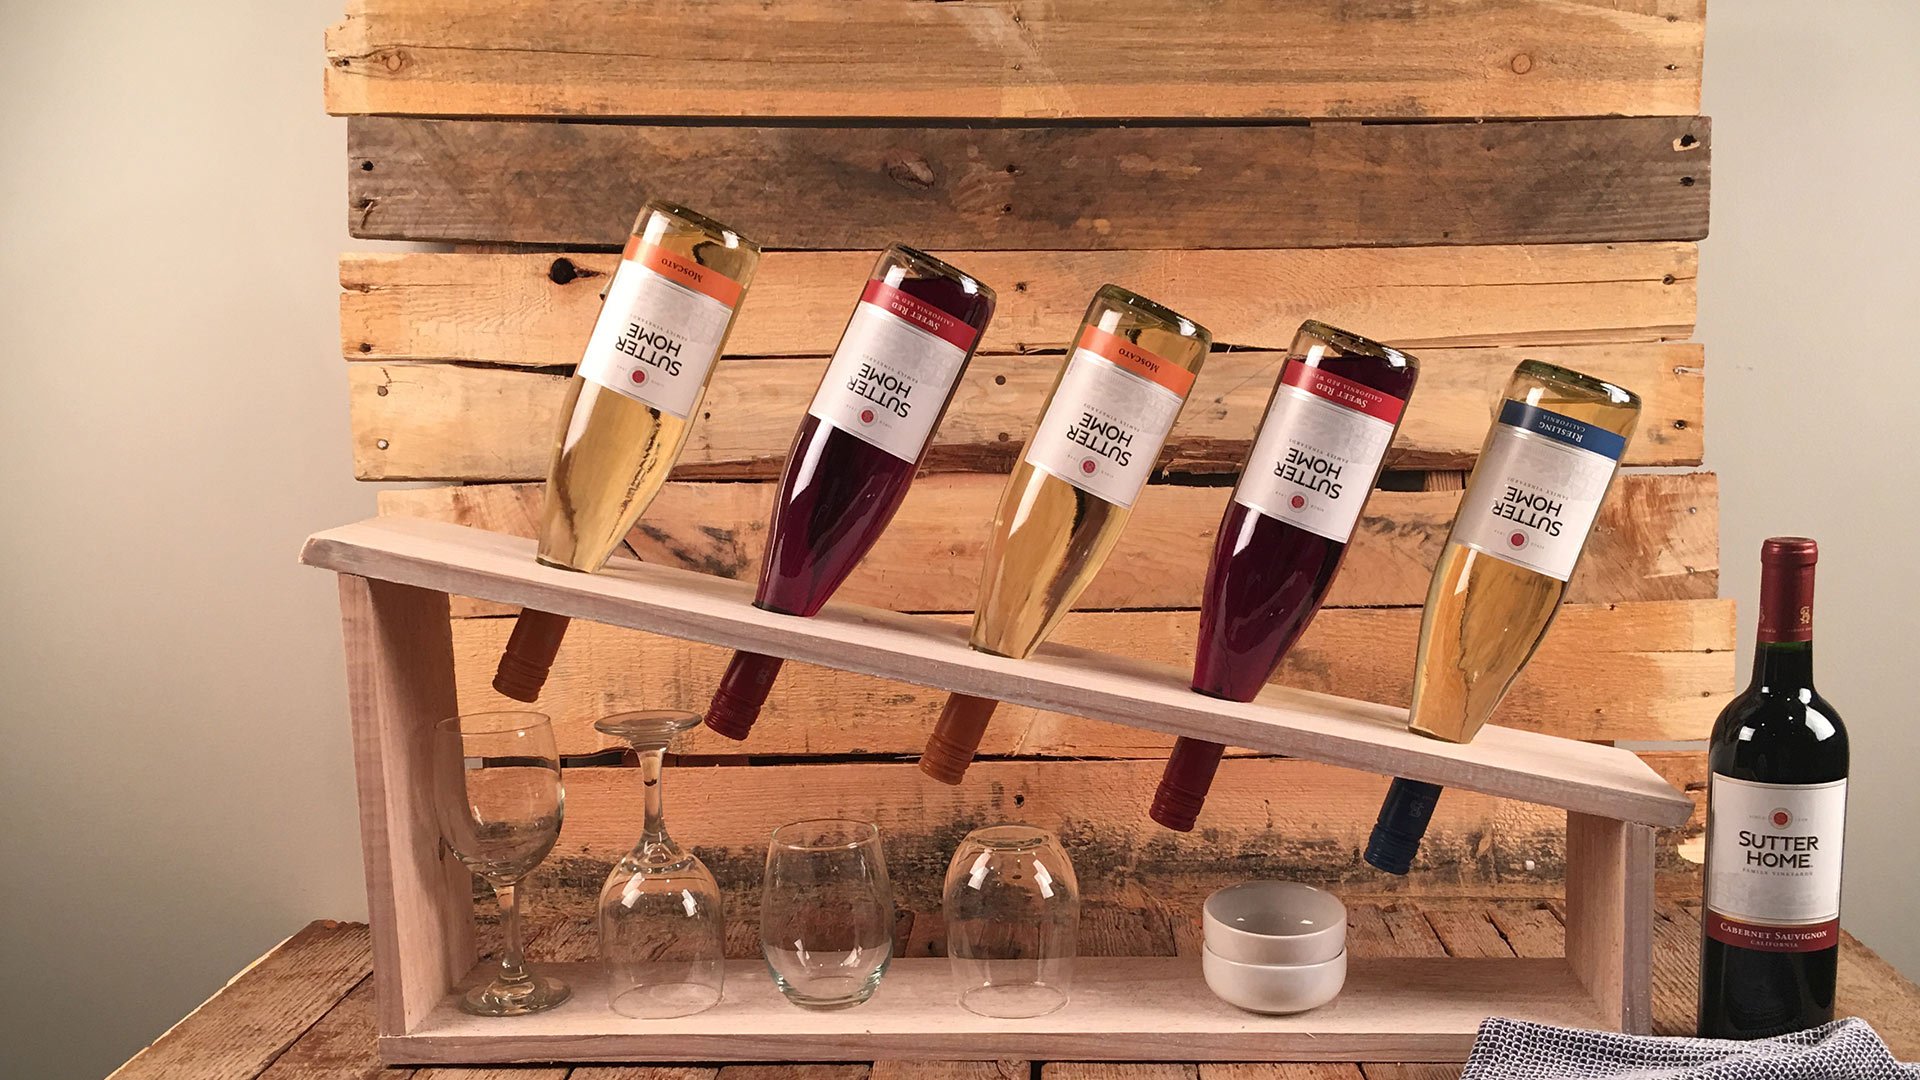
Simple Wooden Wine Rack Design
Planning Your Basic Rack
The simplest DIY wine rack design involves creating a basic wooden frame with horizontal slots to hold bottles. This design typically accommodates six to eight bottles and can be completed in a single afternoon. Start by determining your desired dimensions based on available space and bottle capacity needs.
Cut your lumber to create the frame components: two side pieces, a back panel, and several horizontal slats. The key measurement involves spacing the horizontal elements to accommodate standard wine bottles, typically requiring about 4 inches between centers. Sand all pieces thoroughly before assembly to achieve a professional finish.
Assembly Process
Begin assembly by creating the basic frame structure. Attach the back panel to the side pieces using wood screws, ensuring everything remains square during construction. Pre-drilling pilot holes prevents wood splitting and ensures clean connections. Add the horizontal slats at measured intervals, checking alignment carefully as you progress.
For wine glass storage, measure and mark locations for notches along one horizontal piece. Use a drill to create starter holes, then finish the cuts with a jigsaw. Test-fit actual glasses to ensure proper sizing before final assembly. Apply wood stain or paint according to the manufacturer’s instructions, allowing adequate drying time between coats.
Pallet Wine Rack Project
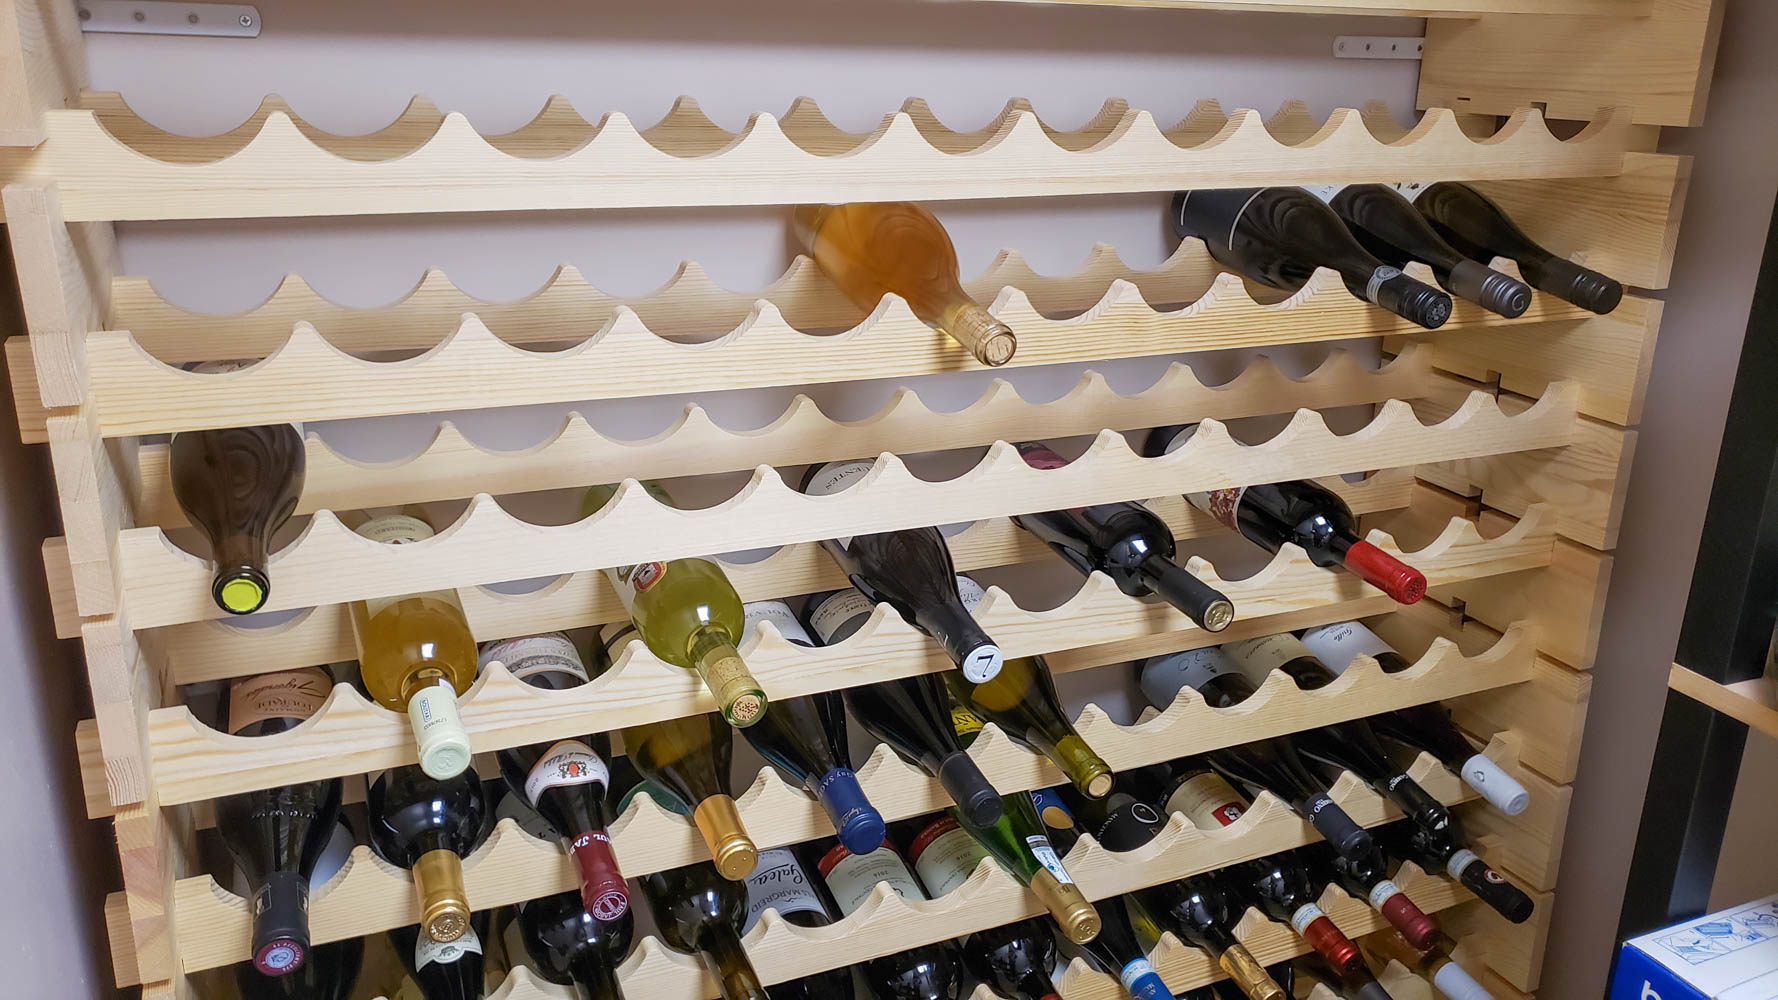
 Wine Rack at Home (Image via Getty)
Preparing Pallet Materials
Wooden pallets offer an excellent foundation for rustic wine storage solutions. Source pallets from local businesses, ensuring they’re heat-treated rather than chemically treated for safety. Inspect pallets carefully, avoiding those with damage, excessive wear, or chemical stains.
Disassemble pallets carefully to preserve usable lumber, or use them whole for certain designs. Sand all surfaces thoroughly to remove splinters and rough spots. Some pallet wood may require additional preparation, including planing or trimming to achieve consistent dimensions.
Creating the Pallet Rack
The pallet wine rack design utilizes the natural spacing of pallet slats to create bottle storage slots. Cut pallets to your desired size, ensuring three pieces have scalloped edges to cradle bottles securely. Two scalloped pieces form the sides, while the third creates the bottom support.
Assemble the rack by positioning the back piece (without scallops) between the two side pieces, then adding the bottom support. Secure all connections with screws or nails, ensuring the structure remains stable under load. For wine glass storage, measure and cut slots in an additional piece, then attach it to the bottom of the rack with appropriate spacing.
Wall-Mounted Wine Storage Solutions
Space-Saving Vertical Designs
Wall-mounted wine racks maximize floor space while creating attractive displays. These designs work particularly well in kitchens, dining rooms, or bar areas where wall space is available. Consider the weight of filled bottles when selecting mounting hardware and wall anchors.
Design options range from simple horizontal strips with bottle holes to more complex modular systems. Ensure your wall can support the loaded weight, using appropriate anchors for your wall type (drywall, plaster, or masonry). Mark study locations for maximum support when possible.
Installation Considerations
Proper installation ensures both safety and functionality. Use a level to mark mounting locations accurately, and pre-drill holes to prevent wall damage. Heavy-duty wall anchors distribute weight effectively across the wall surface. Test the installation with empty bottles before loading your wine collection.
Consider the height placement carefully, ensuring easy access while keeping bottles secure. Standard mounting height places the bottom rack at about 48 inches from the floor, though adjust based on your specific needs and ceiling height.
Finishing Touches and Customization Options
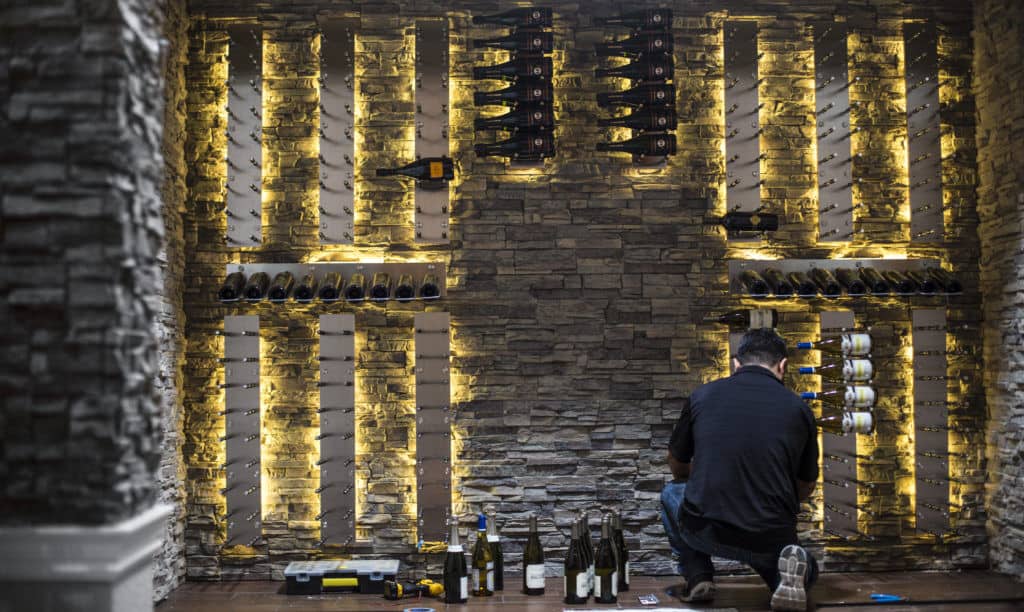 Wine Rack at Home (Image via Getty)
Surface Treatments and Protection
Proper finishing protects your wine rack investment while enhancing its appearance. Wood stain highlights natural grain patterns, while paint offers unlimited color possibilities. Apply a clear protective finish over the stain to prevent moisture damage and wear.
For outdoor or high-humidity locations, use marine-grade finishes that resist moisture and temperature fluctuations. Multiple thin coats provide better protection than single thick applications. Sand lightly between coats for optimal adhesion and smooth results.
Adding Personal Style Elements
Customize your wine rack with decorative elements that reflect your personal style. Metal accents such as copper-sprayed hardware add industrial flair. Carved details, burned-in designs, or decorative brackets enhance visual appeal. Consider adding LED lighting to highlight your wine collection and create ambiance.
Incorporate functional additions like cork storage, wine tool holders, or small shelves for accessories. These elements increase utility while maintaining the custom character of your handmade creation.
Cost-Effective Tips and Money-Saving Strategies
Building a budget-friendly wine rack requires strategic material sourcing and efficient construction methods. Reclaimed materials often cost significantly less than new lumber while providing unique character. Check construction sites, renovation projects, and online marketplaces for affordable materials.
Plan your project carefully to minimize waste and maximize material usage. Standard lumber dimensions work well for wine storage, reducing the need for custom cuts. Buy hardware in bulk when possible, and consider sharing materials with friends working on similar projects.
Time your project with sales at home improvement stores, particularly during off-season periods. Many stores offer significant discounts on lumber and hardware during slower months. Building multiple racks simultaneously reduces per-unit costs through economies of scale.